
Project One: Pinecil Case
I had a fair bit of soldering to do at work. I couldn’t solder though. I’ve learned before, but never had a substantial amount of practice for the skill to cement into my brain. After a half day of practicing soldering a variety of SMTs (even some 0201s!) I actually found myself really enjoying the art. It was therapeutic. So, naturally, I go on Amazon to purchase a portable soldering iron because it was way cheaper than actual therapy. The weapon of choice was a Pinecil V2, made by Pine64, a hacker/maker brand that makes some interesting products, this open-source soldering iron being one of them. It arrived a few days later, and I decided it needed a case, and so I made one
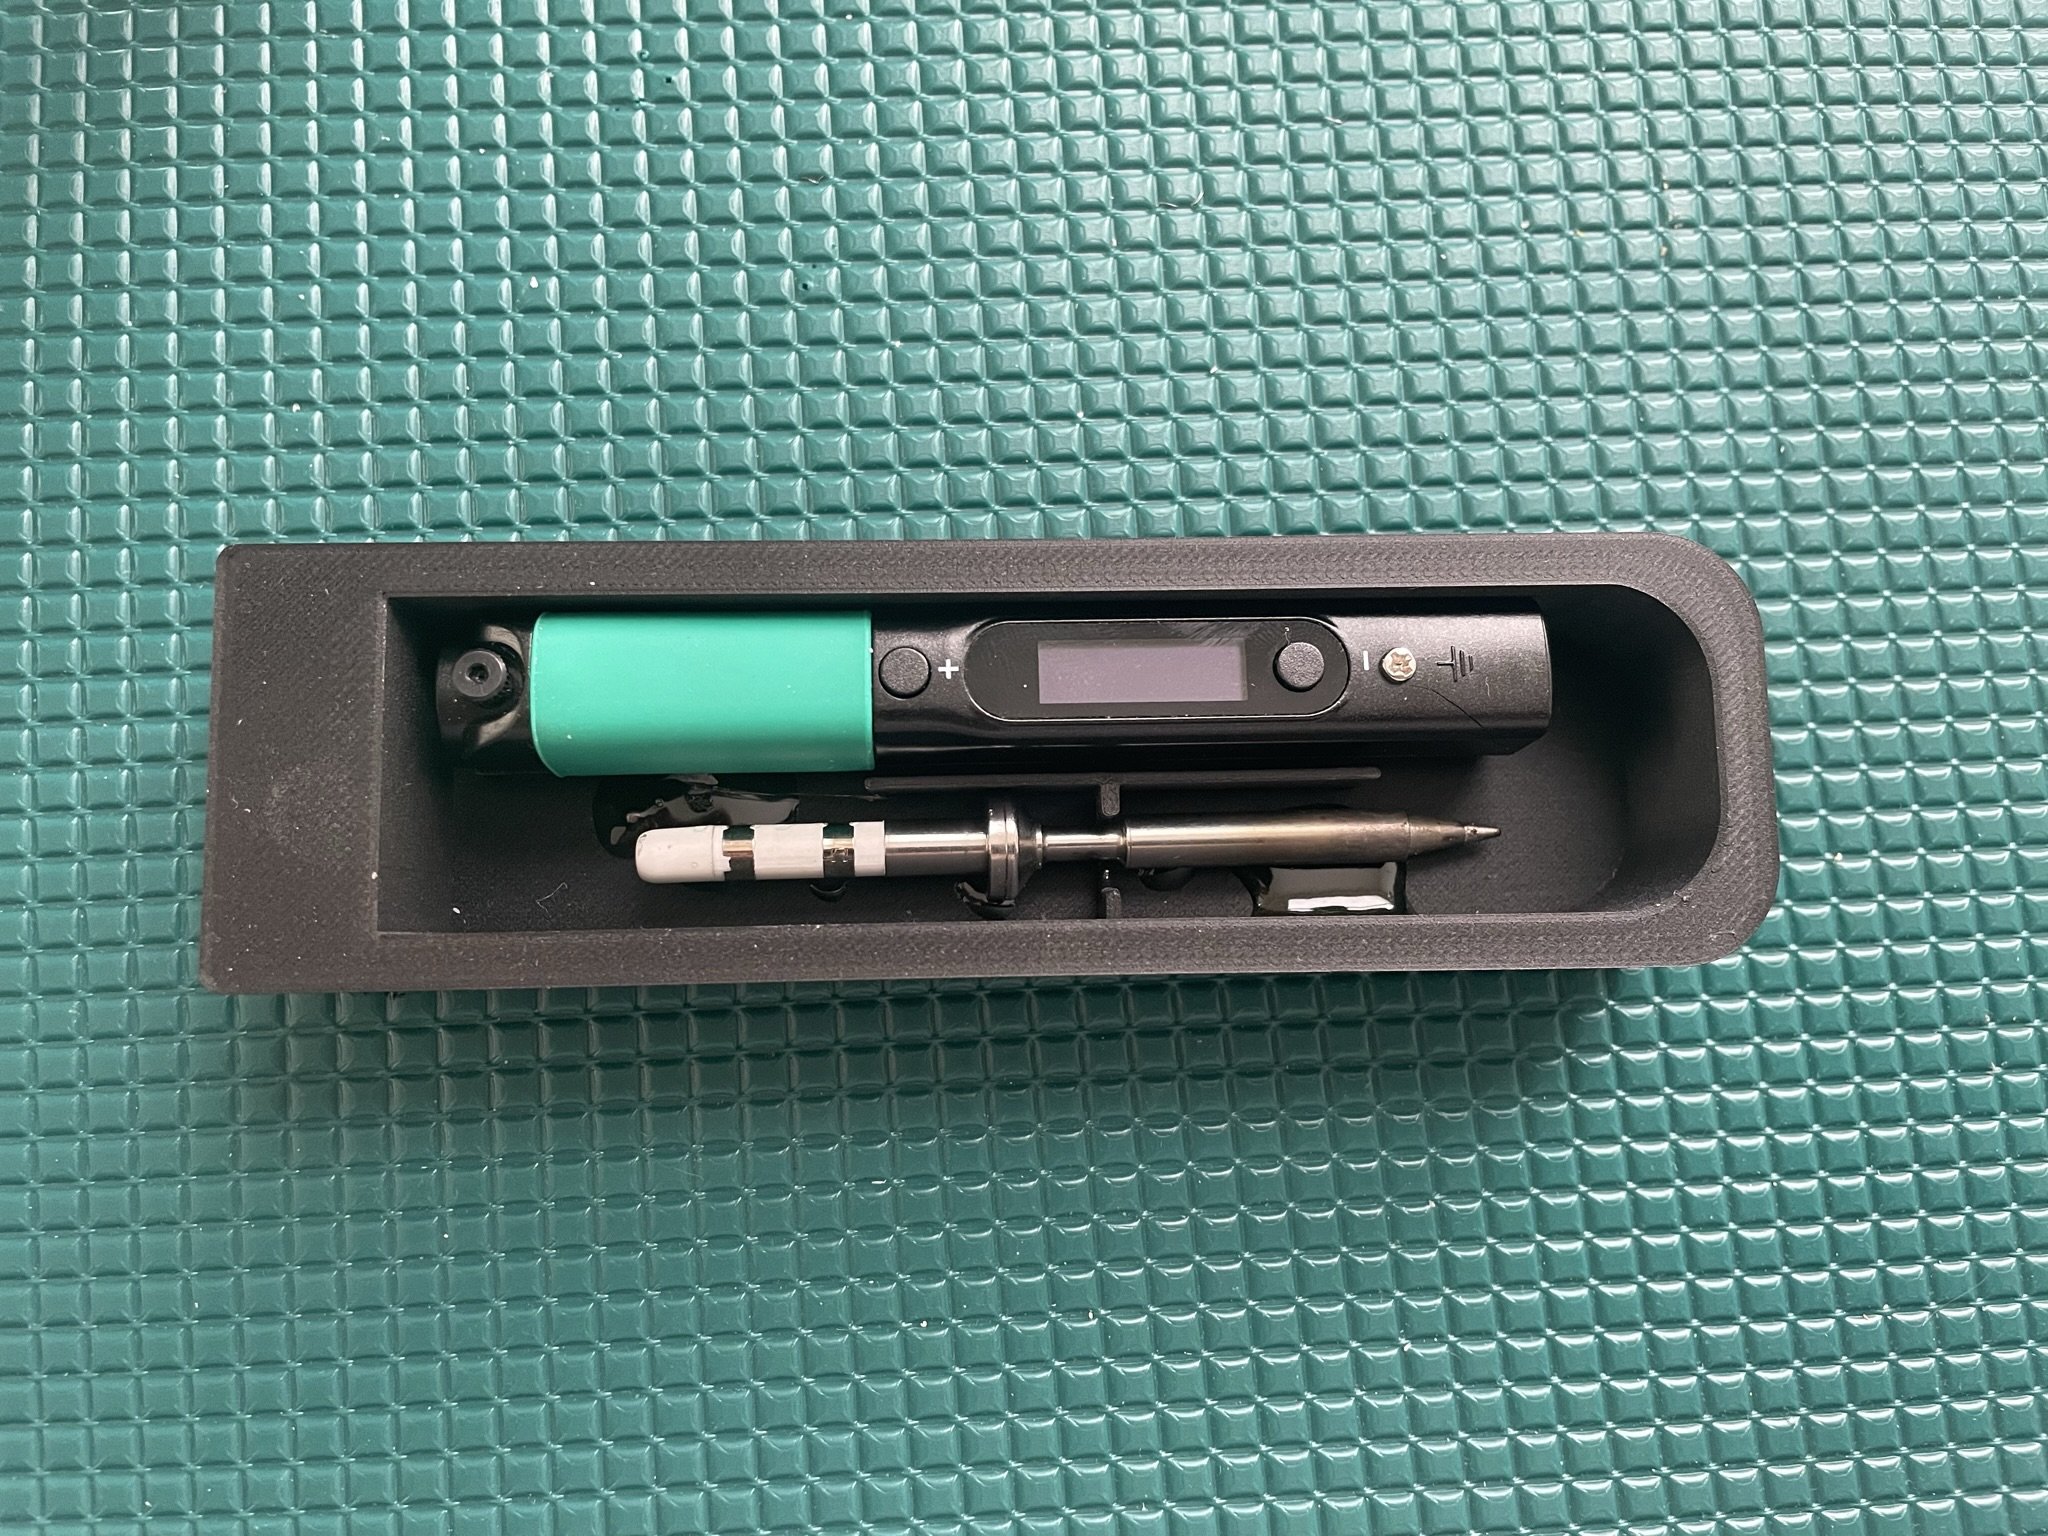
V4 -Printed with magnets, soldering iron and USB-C adapter installed
Project Goals
Practice my CAD ability
Make a small case for my new toy soldering iron
Sitting down in front of a blank canvas is strange. Sometimes, I know exactly how to start, other times, I stare back at the screen, blankly. This time, its the latter. Let’s see what others have done.
Scanning through thingiverse.com and printables generated some very intriguing designs. There are some that integrate a mini all-in-one soldering station, others that look like a pez dispenser, all of which had an interesting element or two that I will shamelessly steal. Over a handful of iterations, you’ll see that I end up using a few features of these.
V1 - This was a pretty simple case. The intent was quite literally to re-familiarize myself with working in Fusion 360 by making some basic shapes that loosely represent a case. I think I achieved that.
V2 - Obtaining the upmost confidence by doing the absolute basics in V0.1, I felt ready to move onto a feature-filled case. In this version, I wanted to be able to fit the entire soldering iron inside without needing to remove the tip for it to fit. I also wanted a slot to be able to store the 6ft USB-C cable I use to provide power. I attempted to modify the step file from the all-in-one case, however, I found that incredibly difficult and non-intuitive. I kept running into errors that indicated certain features I wanted to cut were impossible due to the feature being undefined, or a math modeling error. For the most part, I was able to find workarounds for everything and in the end, I got most of my model made, including the pillars to wrap the cable around. You’ll notice that there are some interior edges that look out of place, and a fair bit of inconsistent fillet dimensioning. You may also notice that up to this point, I have not designed a lid, but I had an idea to insert magnets into it for a magnetic latch. That piece will come later. Regardless, I eventually called it “good enough” and sent it to the printer.
The print came out nicely, and I’m beginning to realize that some dimensions, such as the aforementioned fillets, aren’t very pronounced. Unfortunately, one look at it made me realize that there wasn’t nearly enough room to spool 6ft of cable around the pillars. I tried it anyway, but the result matched my new assumption. Oh well.
V3 - By now, my thought was to go back to basics; slim it back down, ditch the cable storage, and design the magnetic lid. So that’s pretty much what I did. However, I was still using the step file I imported from thingiverse, so I was still running into issues during this design. In the end, it was fairly simple, I hit print, and assumed that this would probably be my last version. You’ll see from the picture, that I somehow completely neglected or changed the height of the case. What a dummy… I couldn’t help but laugh.
But on the bright side, I got to practice putting the magnets in, which were particularly tricky to handle. But during this, I noticed that the lid wasn’t reversible due to the position of the magnets. Not that it needed to be, but frankly, that would be a nice touch. I noted that for the next design
V4 - Okay, this is definitely going to be my last version, right? Unlike V3, I designed this one from scratch. Almost. I learned how to extract a portion of a step file, and I used this newly learnt skill to take the snug-fit cradle from the old design and keep begin to design around that. The rest of the case was built from the ground up. By doing this, I was able to learn the intricacies of drawing planes, filleting, and the sweep tool, which I used to create a inward-slanted bevel. I just thought it looked nice on the other model, so I copied this too. I removed the extraneous bits and bobs and repositioned the magnet slots to make lid reversible. I also ended up adding a small L-shaped extrusion to hold my USB-C 90* adapter in there. Measuring everything with my micrometer, I found there was just enough space for it to fit. Its probably not the best spot for it, but hey, it fits. 3… 2… 1… Print!
It came out rather nicely! Everything fit snugly and despite dropping the third magnet, the lid holds quite well! Although I have some last critiques and thoughts, I was ready to call this one done. If I were to do one more revision, I would probably add a little more room for the USB-C adapter, and add some protection around the tip to prevent any unaware fingers from touching a potentially scalding hot iron.
Overall, I enjoyed this project. When my Pinecil soldering iron came, I thought it was kind of cheap to not include a case, but I’m glad they didn’t. I like that I was able to to learn more about CAD modeling by doing something that actually added value, as opposed to creating arbitrary objects. The case turned out great too. Its sturdy enough to chuck into my backpack without the lid coming off and quite slim such that it doesn’t take up too much space in wherever it ends up being stored. Thanks for reading, nerds.
V1 - Printed in Nylon

V2 Model


V3 - Printed. Bottom picture highlighting height mismatch
